August 22, 2018, 1:46 am
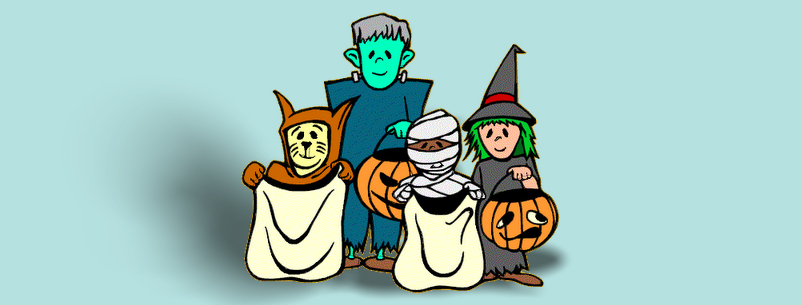
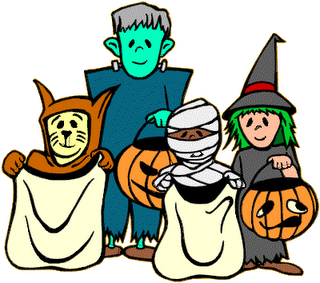
Whether you have sewn for your entire life or are just starting out as a new sewer, Halloween is the perfect time to unleash your creativity and make your own Halloween costume. It doesn’t have to be perfect because it’s a costume. It’s a project to try new techniques and/or perfect old ones. And better yet there is no right or wrong way of doing things! Create and enjoy the ride!
I tell my students to browse in the retail Halloween stores and look in books, magazines, and the internet to get an idea of what they would like to be. Make sure you pay attention to the details that you would like to incorporate into your costume. When you have decided on a costume to make you can approach making your Halloween costume in several ways.
The first approach is to check the pattern catalogs in your local fabric store to see if there is a pattern for your costume that you’ve chosen to make for Halloween. If you are a new sewer just make sure that the pattern isn’t too complicated. I like to tell my new sewers to purchase a pattern with no more than 10-12 pieces unless you’ve consulted your sewing teacher or other experienced sewer. Look at the fabric, trims, and notions on the back of the pattern envelope for the costume pieces that you are making from the pattern and purchase these items. Prepare the fabric, find the pattern pieces needed for your view, cut it out and have some fun sewing up your costume. Make sure that you ask for help if needed. Embellish your costume to make it your own. Remember, you are the designer and it’s what you like that really counts!
Now, if you have this great idea in your head but can’t find a pattern then you have to go a different route. Think of the designers on shows like Project Runway and the steps that they must follow to get from a drawing or an idea in their mind to the final project. Break the design down and see what you will have to do to get the look that you want. Look for patterns that have the shapes that you have in mind and substitute these patterns to make your costume. Or, if you have a Goodwill store or a Salvation Army store near you, they are usually treasure troves of great pieces that can be adapted to make any costume. Alter and embellish them and your costume will be smashing!
To summarize, decide on what you want to be for Halloween, decide on how you want to go about it, and get going sewing. And remember, the best thing about making your own costume is when someone complements you on your costume you’ll be able to smile and say “Thank you, I made it myself!”
February 20, 2018, 10:01 pm
Valentine’s Day has come and gone. Completion of projects in all my classes have been slow and steady. I really stress to my kids that they are right where they are supposed to be in terms of their progress with the projects. Sewing is a learned skill and each sewer will progress at their own pace. Learning to sew takes time, patience and lots of practice. The payoff for my young sewers are practical skills that they will have for a lifetime! Continuing our quest to master curves in both our hand and machine sewing let’s talk about the projects…
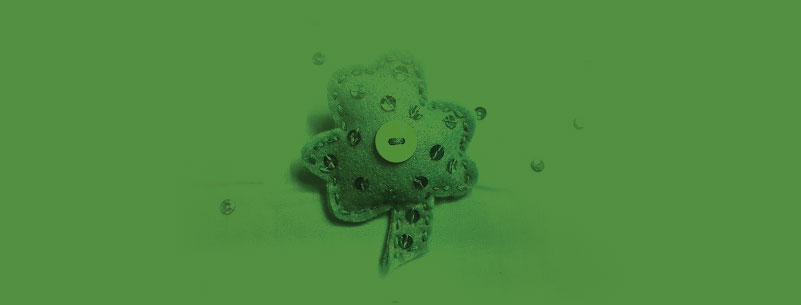
My younger kids will be finishing up projects from the past few weeks before they start any new projects. When they catch up they will be stitching a shamrock pin looking onward to St Paddy’s Day.
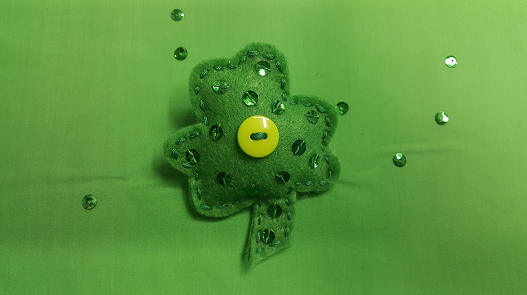
We’ll be learning how to sew sequins on their pins as an embellishment. Then we’ll stitch them almost closed, add some stuffing, and then sew them up and add a pin closure to the back. They’ll have the luck of the Irish in March as they proudly wear their shamrock pins and tell everyone that they made them!
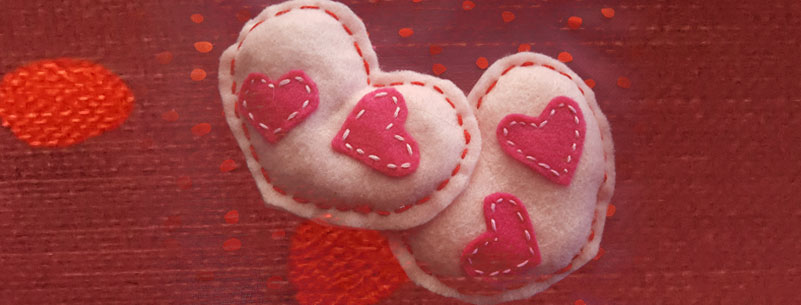
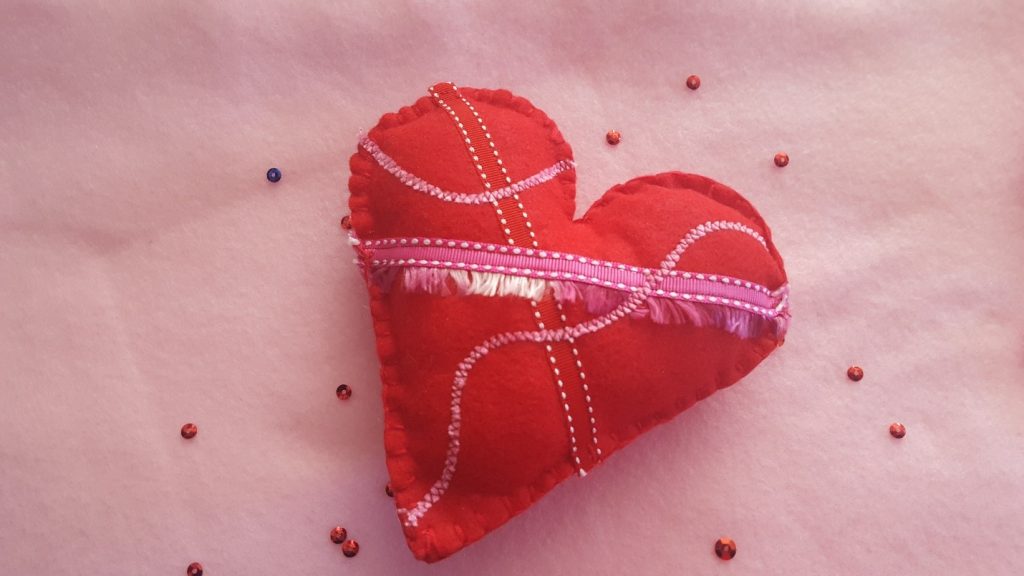
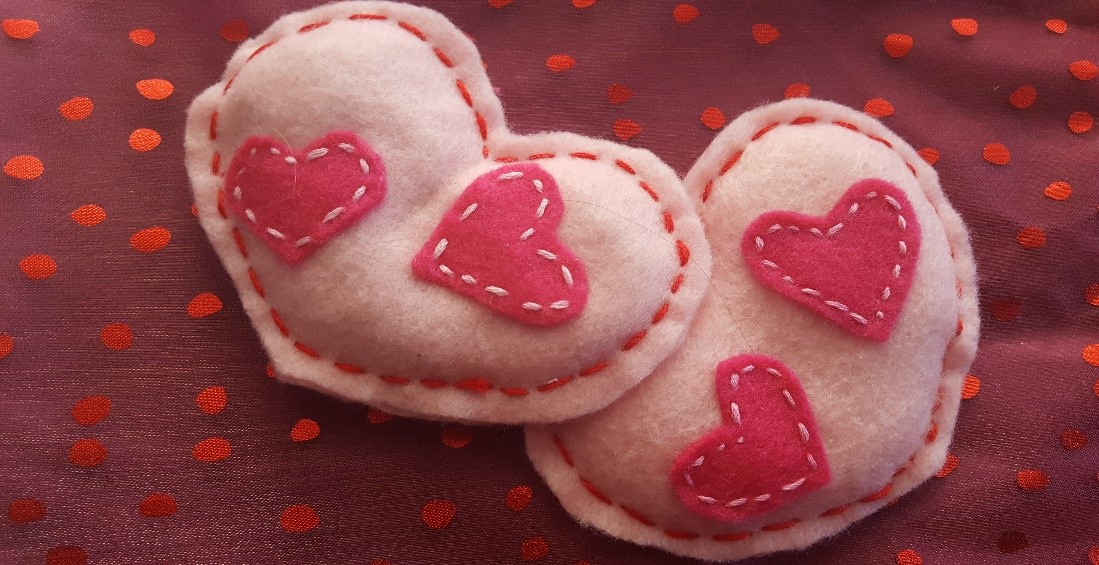
My older kids will be working on sewing heart pillows. More experience sewers will stitch a heart that has a 2-piece curved front. This is almost like sewing a dart that give a flat piece of fabric some curves and depth. We’ll be learning how to stitch these curves so that they will turn easily. My beginner kids will be stitching hearts made from fleece. We’ll be fringing these pillows which really makes them cute! Add a bow and I bet they’ll want to make more than one! Check out Ms. Bobbi’s Kits on my website for more information.

Until next time,
Ms. Bobbi
February 14, 2018, 7:11 pm
Hope everyone had a wonderful and happy Valentine’s Day! This week we will be continuing to stitch projects with a Valentine theme. Let’s talk about the projects…
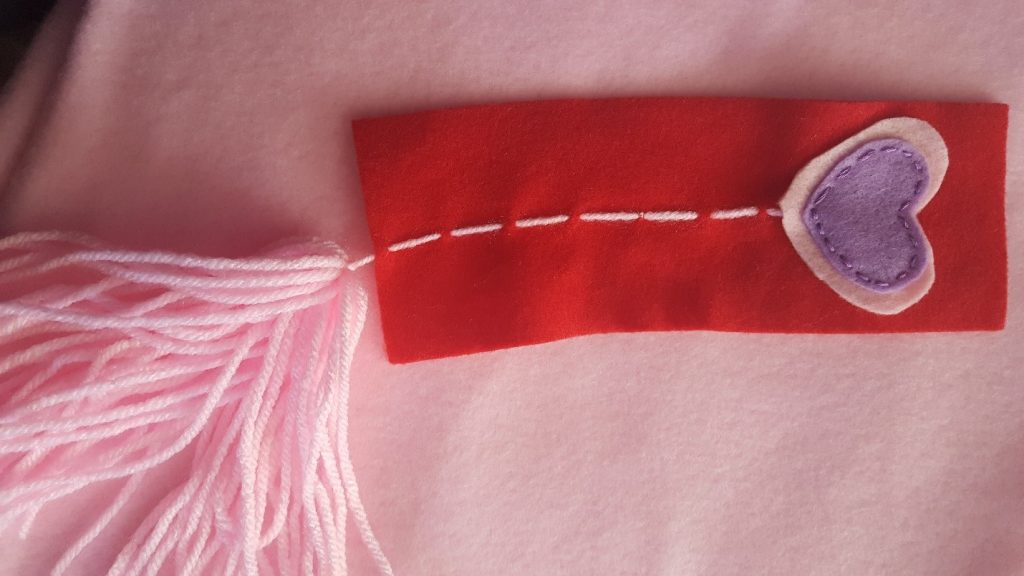
By now my younger kids are getting the knack of basic stitches. We will be finishing our bracelets and starting some bookmarks. Short simple projects give them able time to practice basic hand sewing skills. I encourage the younger kids to take their time and keep on trying to master basic hand sewing skills. Easily frustrated at times, they need to understand that sewing is a learned skill that takes time to master. It’s not how many projects they finish but do they understand what they are doing? Beginning something is always a challenge.
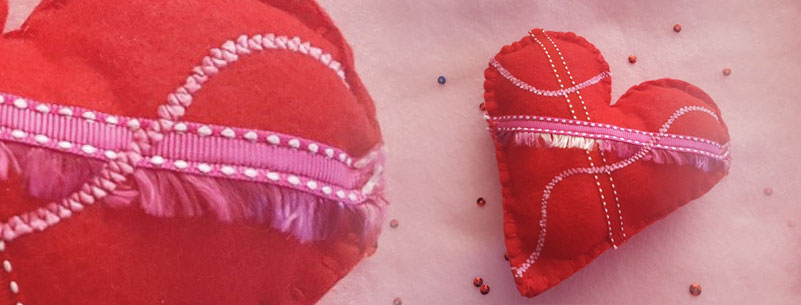
My older kids will be working on embellishment skills as they complete their Embellished Heart. We are starting to learn embellishment techniques that the kids can use to personalize all their projects. We’ll practice the techniques on a doodle cloth (a piece of felt) and then the kids will design a heart for a special person on Valentine’s Day.
Until next time,
Ms. Bobbi
February 9, 2018, 8:13 pm
Hello Friends!
The end of January is here and I’m finally starting sewing classes with my students! I am thrilled to be back so let the sewing begin!
This week is usually geared toward a review of basic sewing skills. The review also helps new students get started on their sewing journey.
For the next 3 weeks our projects will have a Valentine theme. Hearts are perfect for teaching how to sew curves by hand or machine. Decorating our hearts teaches elementary beading and sewing on sequins. My older classes will be decorating their hearts on the machine to learn techniques like couching or attaching lace. Everyone will love stitching projects to give that special person for Valentines Day or just for themselves! Just go to my website if you need more kits to stitch for gifts!
This week it’s Valentine Handwarmers. Hearts are filled with rice. Place them in the microwave for 20-30 seconds and drop them in a coat pocket or between the covers to warm up those fingers and/or toes! Enjoy!!
January 26, 2018, 4:52 pm
Hello Friends!
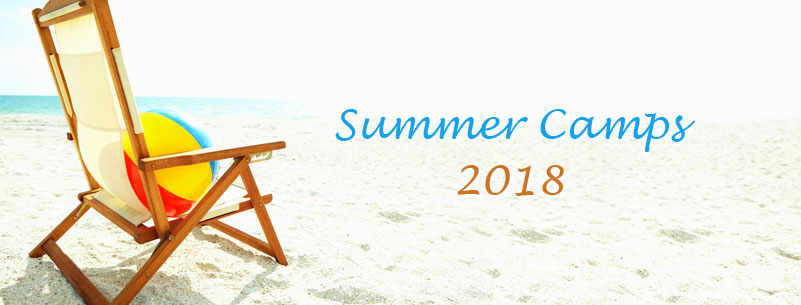
It’s been a busy month for me with getting ready for not only weekly classes but also putting final touches on my summer camps! Tower Hill Camp Fair is next week but I have my camps up right now on my website and the good news is that you can also register for camps at Tower Hill before anyone else sees them at the Camp Fair! “Sew” exciting! Please email me at bobbi@fascinationinfabrics.com or call me at 1-610-494-7742. And please share this blog! Thanks in advance!
My camps for the summer are full of fun projects to test your child’s creativity and build both hand and sewing machine skills. They also foster a love of sewing and the needle arts!
Camps at Tower Hill
The following camps can be found in my brochure on my website or in Tower Hills brochure. I take care of the registration, so you may register for these camps on my site or by mail.
Sewing on the Go Camp
I have 2 general “Sewing on the Go” camp and each week has different projects geared to the interests and skills of the campers in the class.
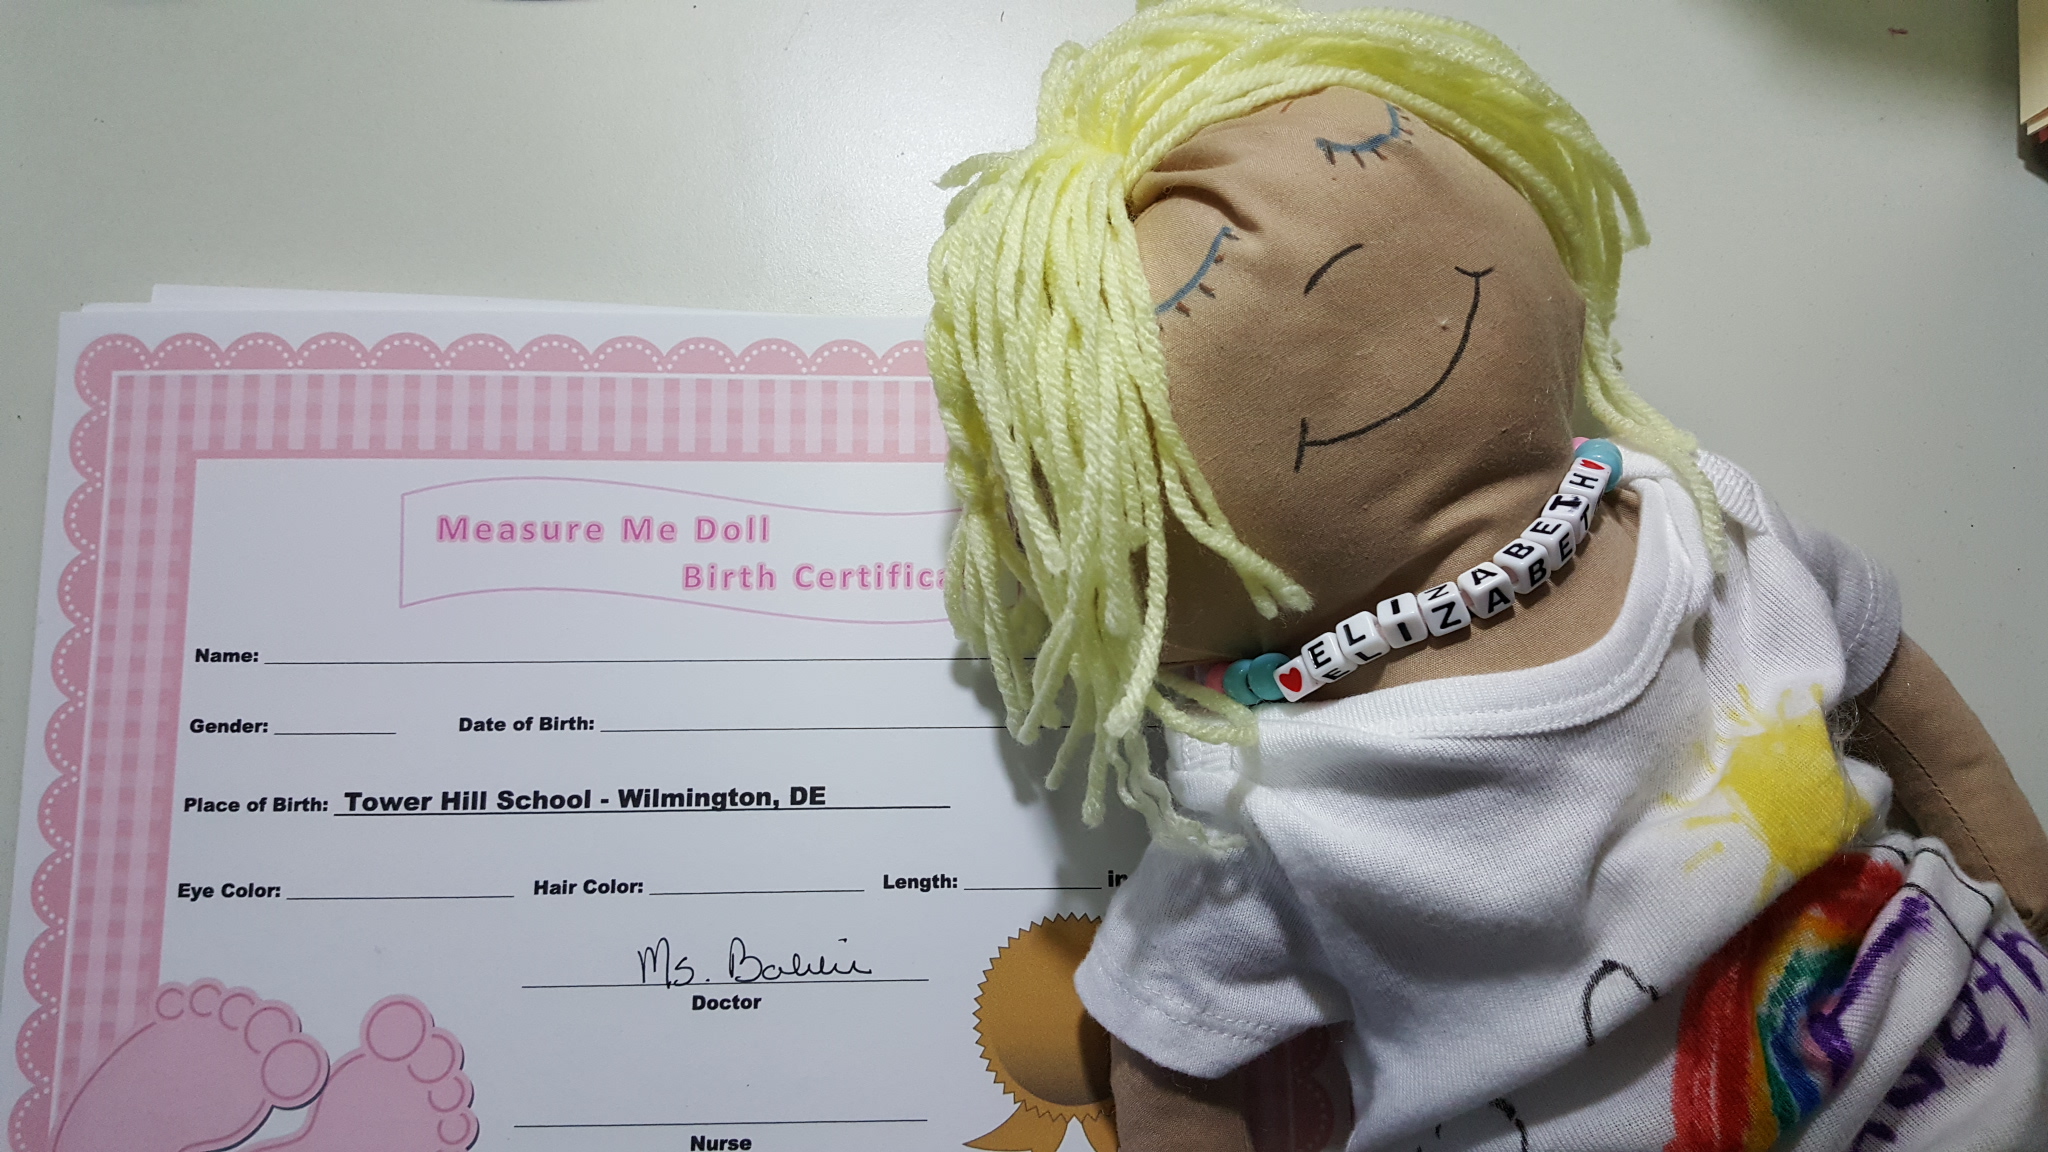
American Girl Sewing
Back by popular demand, I’ve scheduled 2 “American Girl Sewing” Camps. Beginners will make a simple wardrobe for their dolls while learning to sew by hand and by machine. Advanced campers will love choosing several patterns to make clothes and accessories for their dolls while learning to navigate a pattern. Again, both weeks will focus on different projects depending on the skill levels of my campers.
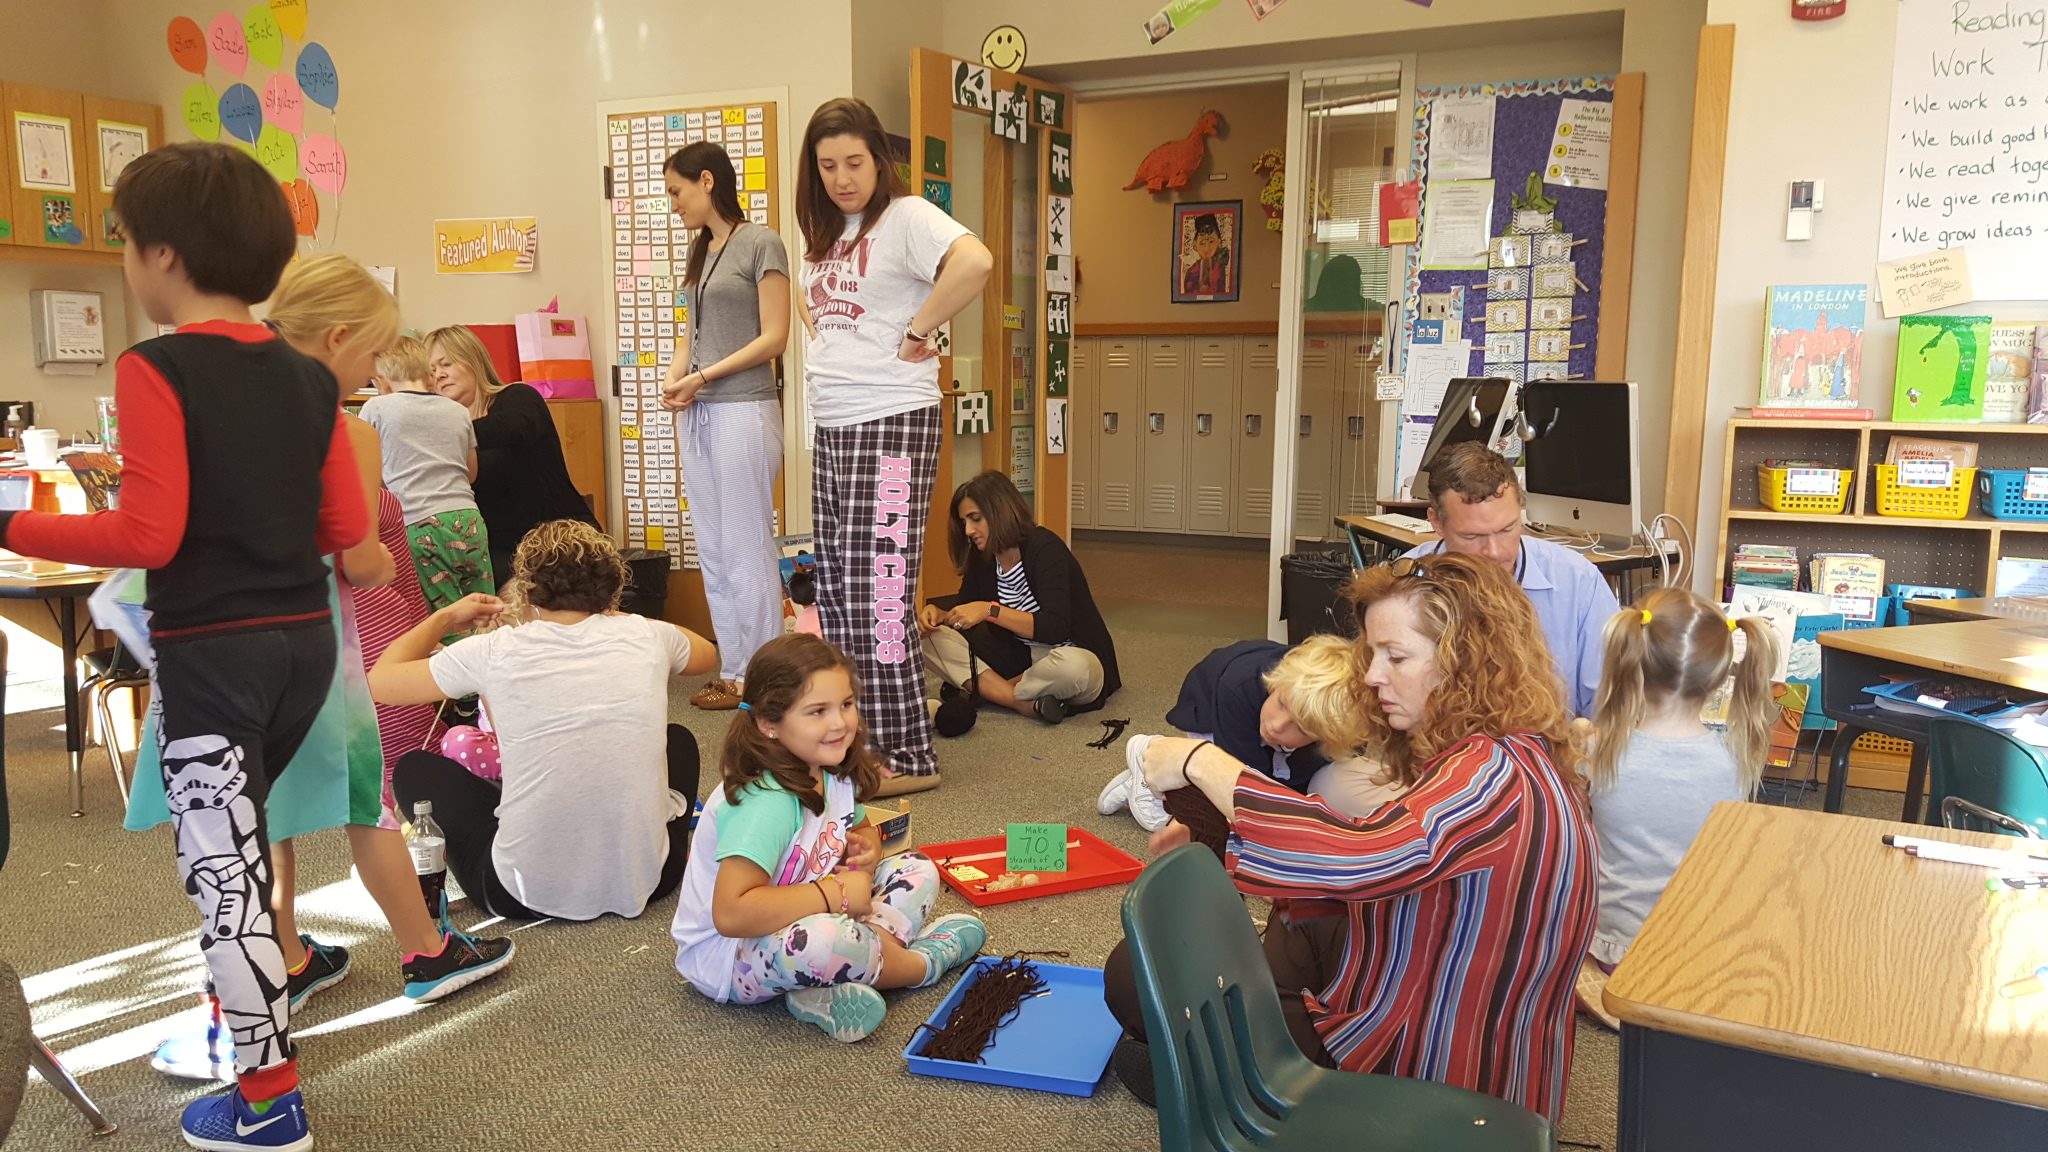
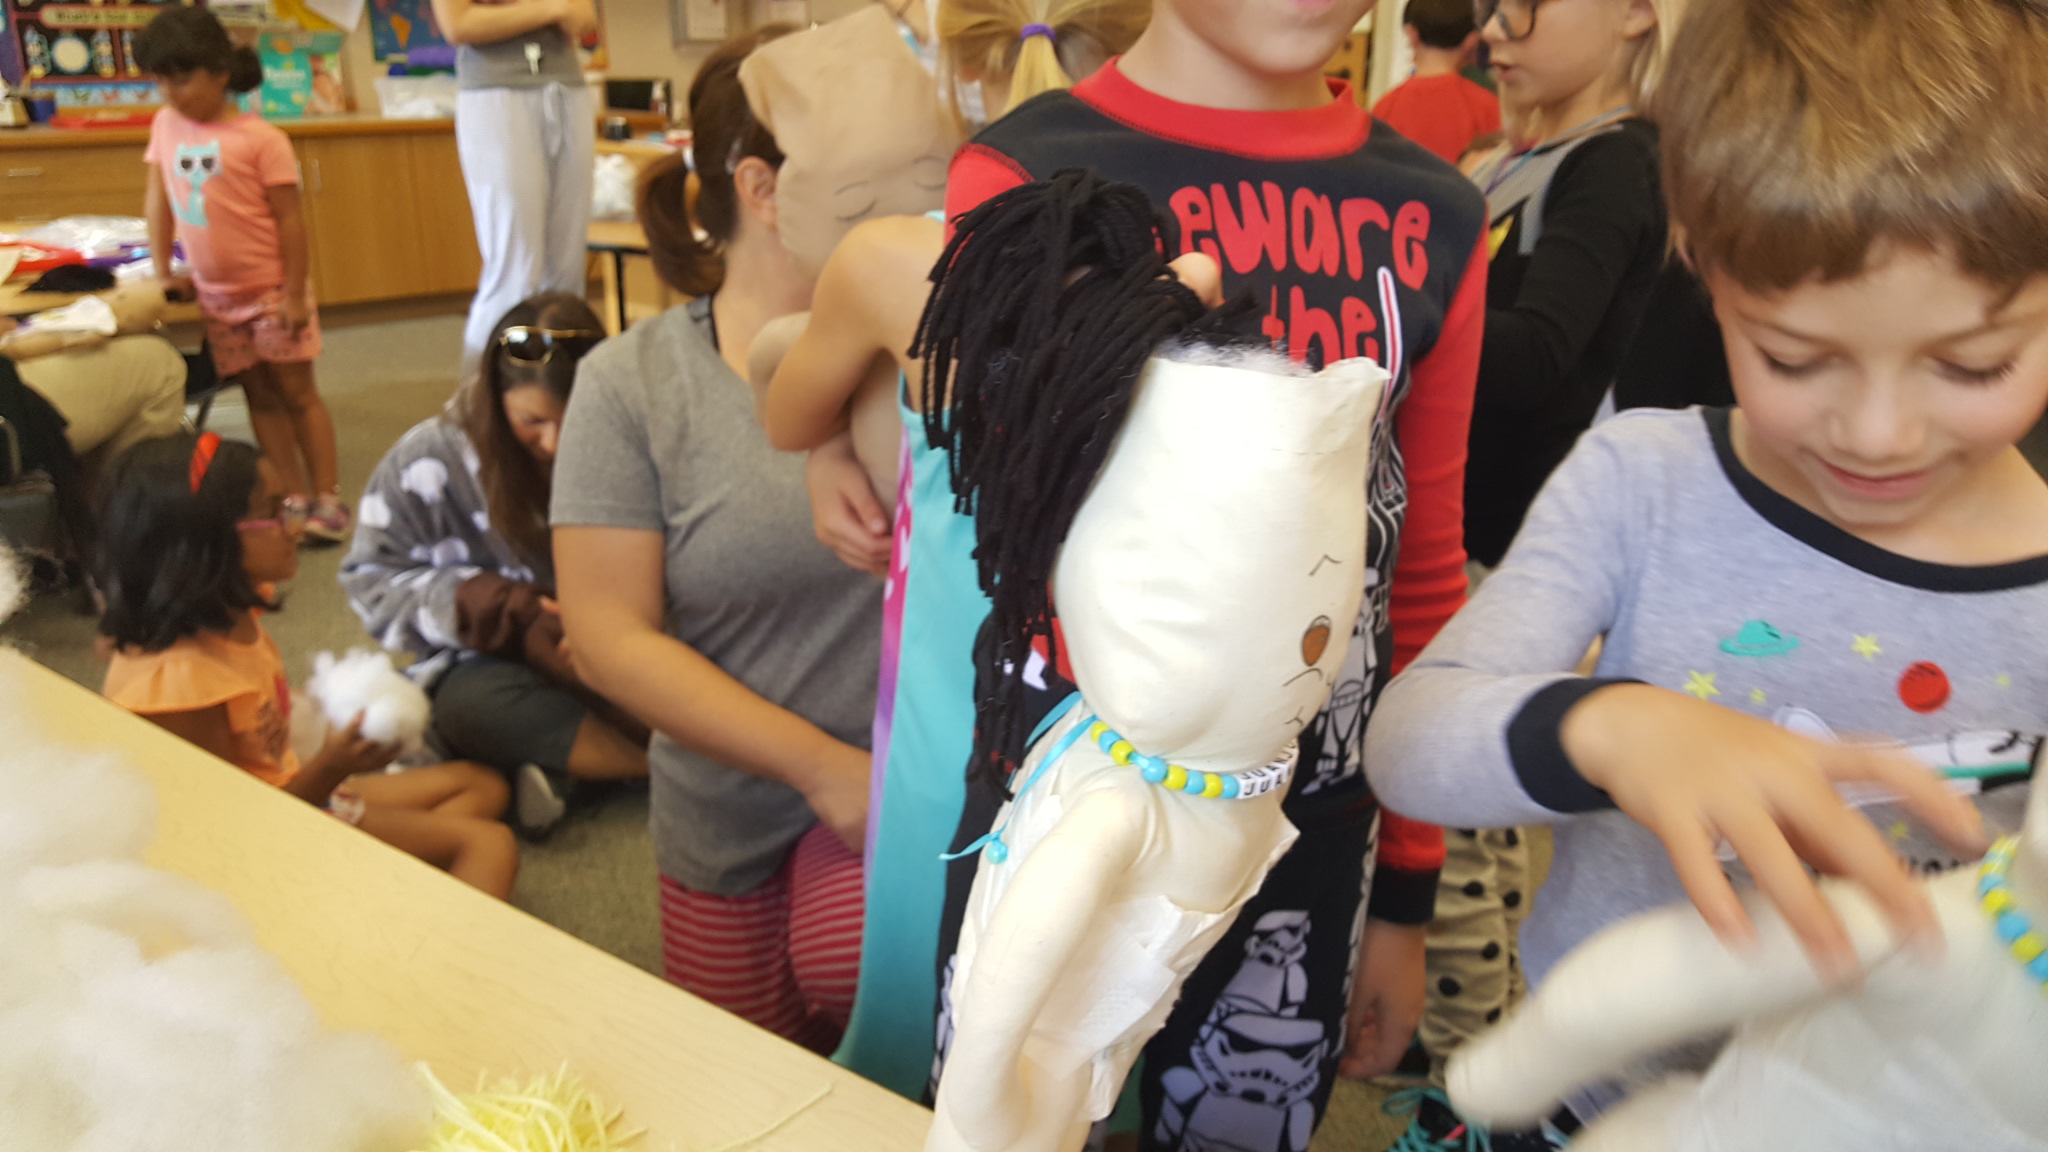
Creature Camp 2
Always a favorite and full of fun creating monsters and creatures out of a variety of materials.
Junior Sewing on the Go ***New this Year***
I’ve had such wonderful classes with my young friends during the year, I decided to try a Junior Camp for kids 4-6-years old. This camp will be a morning only camp and will be mostly a hand sewing camp with stories and sewing crafts rounding out the morning.
Activity Week at Tower Hill Day Camp
July 23 – July 27
During this week, I will be the guest teacher at the day camp. I’ll be doing beginning projects with both the Tower Tots (Minis) and the older kids. This is a great way to see if your kids would enjoy the wonderful world of sewing! Contact Ms. Cindy Sardo at csardo@towerhill.org with any questions.
Camps at The Tatnall School
If you are going to Tatnall or are looking for other weeks for camp, I have 2 summer camps at Tatnall. The school takes care of their registrations so please contact Andrea Morrison andreamorrison@tatnall.org.
Sewing on the Go Camp
June 18 – June 22
August 6 – August 10
Learn basic hand and machine sewing skills while stitching lots of fun projects. Each week has a different set of projects to sew and projects are geared to the interests and skills of the campers in the class.
Activities at Ursuline Academy
I am pleased to be back at Ursuline Academy for Winter/Spring classes. And, the week of August 13 – August 17 I will be spending a few days teaching their very young campers to sew. Any questions on the programs at Ursuline please call Mr James Greatorex at 1-302-658-7158 ext 251 or email jgreatorex@ursuline.org.
Until next time,
Ms. Bobbi
January 26, 2018, 4:51 pm
I am getting so excited to start the Winter/Spring sessions with all of you! A welcome back to all my returning students and a welcome to all my new students at Tower Hill, Tatnall, and Ursuline Academy!
Usually, I try to write a newsletter each week to let parents know what we are doing in class and any remind them of any important dates like our parties we all love. This term I’m going to ask parents and kids to visit my blog each week on my website. All the blogs will be up on the site and you will never miss a weekly update.
I’ll continue to post all the dates of the classes, keep you informed of any changes, and post pictures of our creations! And, if your kids enjoy the kits they can purchase additional kits on the website or through me at school.
I’ll also be posting the blogs on my Facebook Page ( Fascination in Fabrics). Please visit my page and “like” my page. Read some of the articles that I have posted or share your own article on sewing to my page. Anything sewing related would be fantastic and probably enjoyed by all.
I’m “Sew” excited about my Website, Blog and Facebook Page! Come visit me soon and I’ll see you next week! And please share with anyone that might be interested in the joys of sewing!
Ms. Bobbi
PS My summer camps are up on the website and are ready for kids to register!
January 25, 2017, 4:22 pm
Sewing is a learned skill. I tell my young students this fact repeatedly as I guide them through my curriculum of projects that will give them the basics of sewing and the needlearts. As one learns to sew they must have the courage to tackle new techniques knowing that the first try might not be their best but knowing that is ok! Everyone, both kids and adults, must start at the beginning of their sewing journey. Everything they do while on that journey will be a first for them as they gain patience and determination to become better sewers. As they advance in their sewing adventure, they will get better! To quote President Obama “Yes we can!” And “Yes we will!”
Case in point: Bobbi’s Zipper Phobia
In the adult sewing world, most of the time inserting a zipper brings terror in the hearts of many! I was one of those people. In fact, even throughout my college years I always inserted a handpicked zipper to avoid having to use the machine! It wasn’t to get extra points from my sewing professors for going that extra mile and inserting a perfect (yes, after a while it was a perfect hand-picked zipper) hand-picked zipper. No, it was because to put in a machine zipper made me crazy. Being a perfectionist, I didn’t want to fail and have it look yucky! I didn’t realize why I became so confident in inserting a hand-picked zipper because I had done so many of them! I practiced that skill and it paid off! The machine zippers in my mind were forbidden territory because in my mind I made it forbidden. I was my own worst enemy. I psyched myself into believing that I could not do it. And for many years I did not!!
Later in my sewing career I would master zippers and wonder why I had looked on it as such a hard technique to master. And now as a teacher, I want my young students to be able to be fearless when they must insert a zipper! (or any other technique for that matter!)
This spring my projects for the kids include sewing different types of closures among them the infamous zipper! We will insert a simple zipper and build from there. We will make sure that we understand what we need to do and take it step by step. And before we begin I will quote them some words from my dear mentor and friend Martha Pullen who told us to keep assuring our students:
“There is nothing that you can do in sewing that I cannot fix if something goes wrong. And if I can’t fix it I have extra materials and notions so that we can start over and try it again!” It’s totally always a win-win situation. Do not be afraid to try, just do it and enjoy the experience.
My young students will be inserting lots of zippers and other closures into their projects this spring. I’m sure we will be successful because I will show them a positive attitude and be their biggest cheerleader! Their smiles at their accomplishments will be uplifting for me as we finish each new technique. Their success will be my success and continue to make me a better teacher. Learning to sew and loving it!
Until next time,
Miss Bobbi
January 19, 2017, 7:46 pm
Many of my young sewers were so lucky to have received a bright and shiny new sewing machine from Santa or for Hanukah this year. After asking my students about receiving a sewing machine my next question to them is “How do you like it?”
For a moment, there is silence as they stare at me. Then they blurt out “It’s still in the box!” and I am sad for them. And then I answer this exclamation with these words:
“I am so happy that you got a machine because now you can sew whenever you want. I will let your parents know that I am available to take the machine out of the box and set it up for you! We will look at the machine together with your parents so everyone will know how to thread it, use it, and take care of it. Does that sound like a plan of action?” At this point I get a smile and a nod from my student and life is good again.
So, parents please don’t let the machine sit in the box. Please get in touch with me so we can schedule a time for you and your sewers to set up your machine and learn how to use it. You can bring the machine to me or I will be glad to come to your house for the lesson. Having your very own machine is awesome! Let’s get sewing!
Ms Bobbi
p.s. Click Here for Sewing Lesson Information
p.p.s. Click Here for Gift Certificates
November 1, 2016, 5:51 pm
October 28, 2016, 2:37 pm
Hello Friends,
This past few weeks my classes have been working on elementary hand stitches and basic machine techniques. You could say we are getting “in the groove” for sewing our next projects!
Ms Bobbi (that’s me!) purchased some of the cutest Halloween fabric from Riley Blake. Most of the fabric glows in the dark! We had a blast making Halloween pillows, Halloween candy bags, and Kleenex pouches to celebrate the season.
I started to make my own designs for my hand projects and my first kits were all tested and approved by my students. My younger sewers made my Pumpkin Pillow and my older students made my Pumpkin or Spider Pouch. Look for more, both hand and machine, as we continue through the school year!
As the holiday approaches, my focus will be on celebrating Thanksgiving, Christmas, Hanukkah, Kwanza, and any other holiday that people celebrate during this time. My students enjoy making seasonal projects and they love making gifts for family and friends to show off their new sewing skills! And Ms Bobbi loves seeing their smiles as they finish each project and realize that they made it themselves. Learning to sew and loving it!
Until next time,
Ms Bobbi
Tags: christmas, elementary hand stitches, halloween candy bags, halloween pillows, hand projects, Hanukkah, kleenex pouches, kwanza, pumpkin pillow, pumpkin pouch, seasonal projects, spider pouch, thanksgiving, young sewers Category: Projects |
Comment
|
|
|
|
 Laces & Trims
 Patterns
 Books & Magazines
 Dolls
Dolls Galleria